The New York City subway can be overwhelming for visitors, and this NYC subway tips for tourists guide will help you learn the unspoken rules to navigate the system safely and ride like a true local.
Introduction: The NYC Subway Safety Framework
While I have a dedicated guide on how to navigate NYC’s subway system that details the different routes, how to differentiate Local vs Express trains, and how to take the subway to both JFK and LGA airports, it is essential to know how to navigate the subway safely.
Before you swipe your card, it is essential to understand how the New York City subway functions as a city ecosystem. Navigating the system safely is a matter of following a few established “street smarts” protocols used by millions of locals daily. You can review the MTA’s official safety resources here for further reassurance and protocol information on the official website.
Additionally, you’ll be sharing your commute with everyone from students, grandparents, night-shift workers, and everyone in between–the subway is far from a dark alley; it’s a functioning city ecosystem. To ride with the confidence of a New Yorker, adopt these three main foundational principles:
- Trust the Statistics: With millions of daily riders, the subway remains one of the safest ways to travel. Official MTA data for 2024 and 2025 shows a consistent downward trend in crime, proving that the vast majority of trips are entirely uneventful.
- Utilize Safety in Numbers: A crowded train is a safe train. By choosing populated cars and busy platforms, you utilize the natural “eyes on the street” that keep the ecosystem secure.
- Project Situational Awareness: The goal of this guide is to move you from “lost tourist” to “informed rider.” By mastering the “how-to” of the platform—from spotting the conductor to managing your belongings—you eliminate the cues that signal vulnerability.
This guide outlines the exact procedures for navigating the underground, ensuring your transit experience is as seamless and efficient as any local’s.
Quick Guide: How to Ride the NYC Subway in 4 Steps
- Step 1: Payment. Use OMNY (contactless) via phone or card at the turnstile.
- Step 2: Direction. Check for “Uptown/Queens” or “Downtown/Brooklyn” signs before entering.
- Step 3: Boarding. Stand behind the yellow line and let passengers off before entering.
- Step 4: Riding. Move to the center of the car and keep your belongings in front of you.
How to Prepare Your Route and Payment
The best way to blend in like a local is to complete your “prep work” before you even descend the stairs. Follow these steps to ensure a seamless entry into the system:
Step 1: How to Configure Your Navigation Tools
Confusion is a primary signal of vulnerability. Eliminate “platform hovering” by preparing your digital tools above ground where you still have Wi-Fi or cellular service:
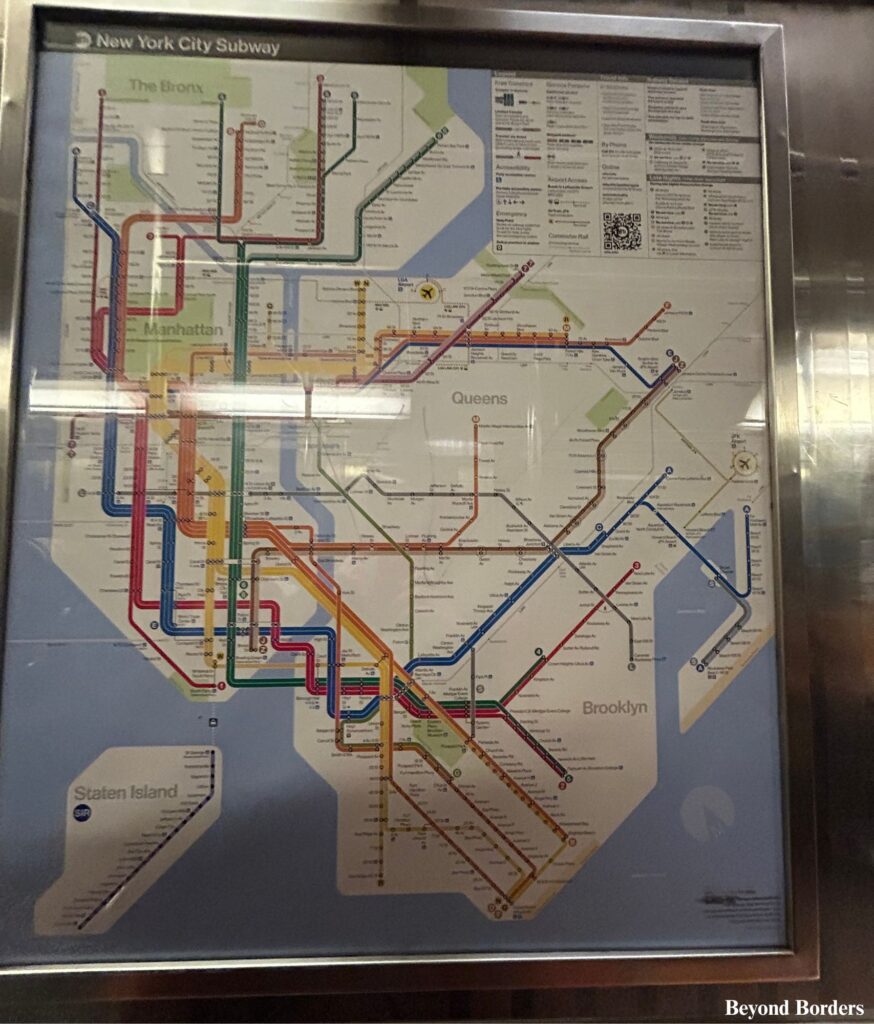
- Download Offline Maps: Cell service is unreliable underground. Use Google Maps or Citymapper to save an offline version of the NYC transit map.
- Check Real-Time Delays: Use Citymapper or the Transit app to see if your specific line has service changes or delays before you enter the turnstile.
- Identify Your Cardinal Direction: Determine if you need to head Uptown (North toward the Bronx/Queens) or Downtown (South toward Brooklyn/Financial District). Check the station entrance signs to ensure you are entering the correct side of the street for your direction.
Step 2: How to Set Up Contactless Payment with OMNY
Avoid fumbling through your bag at the turnstile, which can expose your valuables to theft. Streamline your entry by using OMNY, the city’s contactless payment system:
- Skip the Vending Machines: You will still see vending machines for MetroCards; do not buy one. They have been discontinued since December 2025.
- Enable Your Device: Ensure your smartphone’s digital wallet or your contactless credit/debit card is easily accessible.
- The “Tap and Go” Protocol: Simply tap your device or card on the OMNY reader at any turnstile. Once the screen says “Go,” proceed immediately.
Pro-Tip:
By keeping your phone out and ready before you reach the gate, you keep your wallet safely out of sight and maintain the pace of traffic, especially during rush hour.
How to use OMNY for Contactless Entry
- Ensure your credit card or wallet on your phone has the “Contactless” symbol.
- Tap the device/card on the screen at the turnstile.
- Wait for the “Go” signal and proceed through the gate.
How to Stay Safe on the Subway Platform
Once you descend to the platform, your safety is determined by where you position yourself. Follow this three-step protocol to wait for your train like a local:
Step 1: How to Locate the “Zebra Board” (The Conductor Car Rule)
The safest place to stand is near the center of the platform where the train conductor is located.
- Identify the Marker: Look at the ceiling for a small, black-and-white striped sign known as a Zebra Board.
- Position Yourself: Stand directly under or near this board. When the train arrives, the conductor’s window will align with this sign.
- The Benefit: This is the most supervised spot on the platform and inside the train, providing immediate access to an MTA employee if you need assistance.
Step 2: How to Establish a Defensive Stance
Your physical positioning on the platform prevents accidents and minimizes vulnerability:
- Mind the Yellow Strip: Always stay at least 3 feet behind the yellow safety tiling at the platform’s edge.
- Use the Architecture: Whenever possible, stand with your back against a wall or a structural pillar. This eliminates your “blind spot” and ensures no one can approach you from behind while you wait.
Step 3: How to Identify the “Help Point” Station
Every platform is equipped with a Help Point–a bright yellow or red digital intercom box, typically mounted on pillars, that serves as your direct line to the station agent or emergency services. Familiarize yourself with its two-button system:
- The Green Button: Use this for non-emergency inquiries, such as route directions or station information.
- The Red Button: Use this for immediate emergencies (e.g., medical issues, fires, or suspicious activity) to be connected directly to emergency services.
Safety Checklist
[ ] Spotted the Zebra Board?
[ ] Back against a wall or pillar?
[ ] Identified the nearest Help Point?
How to Select a Train Car and Maintain Situational Awareness
Once the train arrives, your safety depends on your car selection and your “on-board” etiquette. Follow these four procedures to ride like a local:
Step 1: How to Apply the “Empty Car” Rule
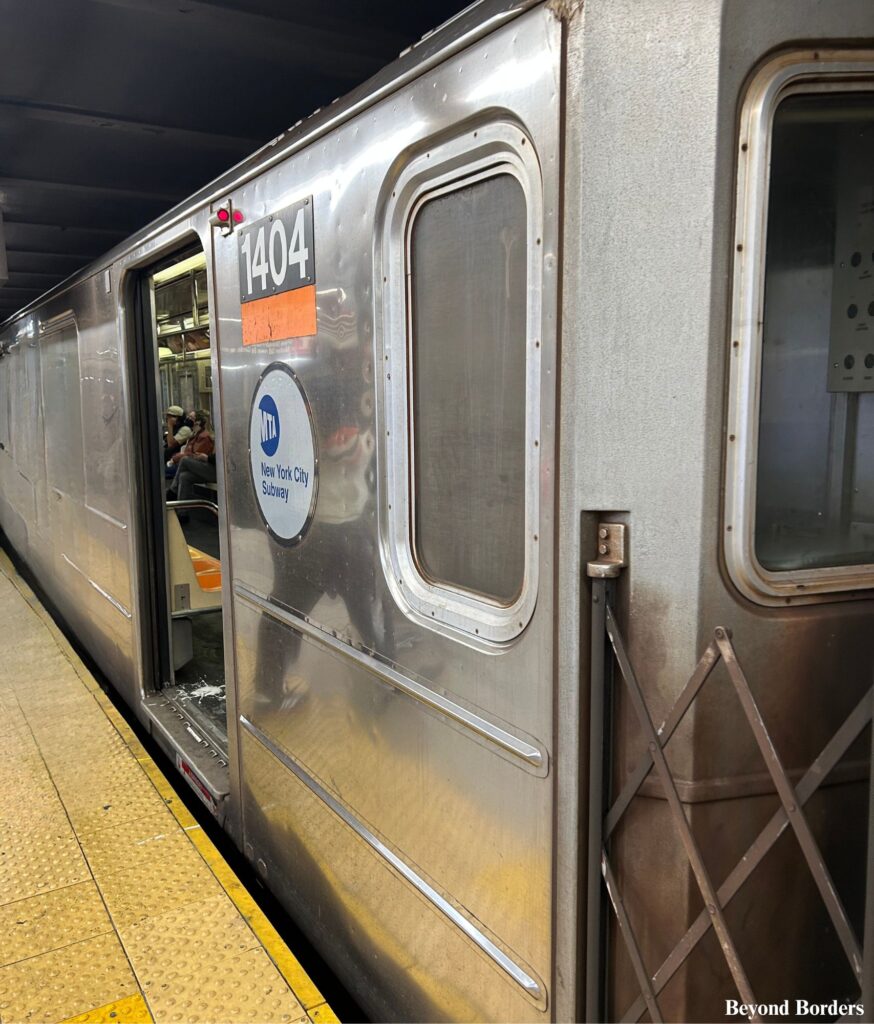
In the NYC subway system, a completely empty car on a crowded train is a red flag.
- The Procedure: If you see a car that is empty while the rest of the train is full, do not enter it.
- The Reason: Cars are typically empty due to a lack of air conditioning, a sanitation issue, or the presence of an aggressive individual. Always board a car with other passengers.
Step 2: How to Position Yourself in the Car
Where you stand or sit impacts both your safety and the flow of the train:
- Move to the Center: Do not hover by the doors. Moving to the center of the car prevents you from being a target for “snatch-and-grab” theft as doors close.
- Create Space for Performers: If “Showtime” dancers board, move back to provide a clear radius for their routine. This prevents accidental physical contact. The performers will often pass a hat for tips afterward, but remember that you are never under any pressure to contribute.
- Observe the Exit: Always be aware of which side the doors will open at the next station.
Step 3: How to Adopt the “Neutral Gaze” Protocol
Social etiquette on the subway is a key safety measure. To avoid unwanted interactions:
- Avoid Eye Contact: Do not stare at other passengers. Direct eye contact can be misinterpreted as a provocation or an invitation for conflict.
- Maintain “Busy” Body Language: Keep your attention on a book, your phone (held firmly), or the station maps. Appearing preoccupied signals that you are an unavailable target for interaction.
Step 4: How to Execute an Exit Strategy
Trust your instincts above all else. If a situation feels uncomfortable:
- Do Not Engage: If someone is acting erratically, do not speak to them or film them.
- Switch Cars: At the next stop, step off the train and walk to the next car or wait for the following train. There is no social penalty for prioritizing your peace of mind.
How to Adapt Your Strategy Based on Time of Day
The NYC subway environment changes based on the clock. To stay safe, adjust your behavior according to these three specific time-blocks:
1. How to Handle the Rush Hour Crowds (8–10am & 5–7pm)
While the high volume of commuters makes these the safest hours, the density creates opportunities for “theft of distraction.” This is prime time for pickpockets!
- Secure Your Belongings: Shift your backpack to your front or hold it between your feet.
- Physical Awareness: Keep your hands on your phone and be mindful of your pockets in crowded cars or on busy stairways.
- Flow Management: Stand clear of the doors to allow others to exit, preventing you from being pushed or separated from your group.
2. How to Stay Alert During Quiet, Off-Peak Hours (10am– 4pm)
When platforms are less crowded, visibility is your best defense.
- Avoid Platform Ends: Do not wait at the far ends of the platform, which can be isolated and far from where you exit the station.
- Find the “Green Zone”: Wait in the center of the platform near the Station Agent Booth or in well-lit areas with high foot traffic.
- Stay Near Help Points: Position yourself within sight of a Help Point intercom.
3. How to Travel Securely Late at Night (After 11pm)
Subway frequency decreases late at night, and platforms become significantly quieter.
- Use the Conductor Car Rule: Always wait under the Zebra Board and board the car where the conductor is located. Never ride in an empty car late at night.
- The “Buy Your Safety” Rule: If you feel uneasy, are unfamiliar with the area, or have been drinking, do not wait for a train. Exit the station and use a ride-share app or hail a yellow taxi for door-to-door transport.
- Stay Above Ground: Generally, if you find yourself waiting more than 15 minutes for a train late at night, it is often safer and faster to relocate to the street level to find a taxi.
How to Handle Common Subway Mishaps
Knowing the correct protocol for common stressful situations when riding the subway can prevent panic and keep you safe.
| If This Happens… | Then Do This… |
| Dropped item on tracks | Do NOT jump down. Alert an MTA employee or use the Help Point. |
| Empty car on a full train | Do NOT enter. Switch to a car with other passengers. |
| Missed your stop | Stay on the train to the next station and switch platforms. If you are totally disoriented, exit the station, use your downloaded maps to re-orient yourself above ground, and then re-enter. |
| Late-night travel | Board the “Conductor Car” marked by the Zebra Board. |
| Emergency on the train or platform | Use the Red Button on the platform or the nearest Help Point to speak directly to the Transit Authority. Only pull the emergency brake on the train in a life-threatening situation (i.e., a fire or major medical crisis). |
How to Prevent Theft and Secure Your Belongings
The most common transit crimes are crimes of opportunity. By following a specific “Anti-Theft Protocol,” you can remove the cues that pickpockets look for.
1. How to Use the “Front-Facing” Bag Protocol
Never keep your valuables behind you where they are out of your line of sight.
- Backpacks: Remove your backpack before boarding. Hold it by the top handle in front of your chest or secure it between your legs on the floor.
- Purses & Crossbody Bags: Wear the strap across your body. Rotate the bag so the zipper or flap is in front of your stomach, with the opening facing toward your body.
- The Benefit: This prevents “blind” access to your zippers in crowded cars and creates more physical space for other riders.
2. How to Guard Against the “Snatch-and-Grab”
The highest risk moment for phone theft is the three seconds before the train doors close.
- The “Door Zone” Rule: If you are standing or sitting near the doors, put your phone in your pocket or bag as the train pulls into a station.
- The Procedure: Do not use your phone while the doors are open. Thieves often grab a device and jump onto the platform just as the doors lock, leaving you trapped on the moving train.
3. How to Identify the “Shield Technique”
Professional pickpockets often use a visual obstruction to hide their hands.
- What to Look For: Be alert if someone stands uncomfortably close while carrying a “shield”– such as a coat draped over an arm, a large shopping bag, or a newspaper.
- The Defensive Action: If you notice a shield being held near your waist or bag, immediately shift your position, move to a different part of the car, or place your hand firmly over your own zipper.
4. How to Project “Active” Situational Awareness
Pickpockets target individuals who appear distracted or overwhelmed.
- Limit Map Fumbling: If you need to check your route, do it with your back against a wall or pillar so no one can approach from behind.
- Maintain Presence: Even if you are looking at a book or phone, look up at every station. This signals to anyone watching that you are present, alert, and anticipating your next move.
Conclusions: How to Ride with Confidence
While this guide covers several safety protocols, remember that for millions of New Yorkers, these actions are simply subconscious muscle memory, not rules born out of fear. The NYC subway is an efficient, safe, and essential part of exploring the city.
By following these procedures–avoiding the empty car, using OMNY, and keeping your bags in front–you are simply adopting the “local toolkit” for a seamless commute.
Final Mindset Checklist: Don’t Overthink It!
If you start to feel nervous, run through this quick mental reset:
- The Odds are in Your Favor: The vast majority of the millions of daily rides are uneventful and efficient.
- You Have the Tools: You now know how to find the conductor, how to pay instantly, and where to stand. You are no longer “just a tourist.”
- Confidence is Your Best Defense: Simply acting like you know where you are going (even if you’re still learning!) is the most effective way to blend in.
Next Steps for Your NYC Adventure
Safety doesn’t stop at the station exit. To stay just as sharp above ground, follow these additional procedures:
- Read the Guides: Check out my procedural guide on 8 common NYC scams to avoid to navigate the streets as confidently as the subway, and make sure to read my guide on how to use the NYC subway, including how to tell the difference between local and express trains, to ride the subway like a local.
- Stay Prepared: Keep your offline maps handy and your phone charged.
- Enjoy the Ride: You’ve done the prep work. Now, tap your phone, step through the turnstile, and go explore the greatest city in the world.