The New York City subway can be overwhelming for visitors, and this subway safety tips guide will help you learn the unspoken rules to navigate the system safely and ride like a true local.
Introduction
First, let’s start with a major reality check: the New York City subway is safe. While it’s natural for first-time visitors to feel a wave of anxiety, remember that this massive transit system is the undisputed lifeline of the city. Millions of rides happen daily, and the vast majority are uneventful, with official crime statistics consistently remaining low (and trending downward in late 2024 and 2025). You can review the MTA’s official safety resources here for further reassurance and protocol information on the official website. Additionally, you’ll be sharing your commute with everyone from students, grandparents, night-shift workers, and everyone in between—the subway is far from a dark alley; it’s a functioning city ecosystem.
This brings us to the crucial concept of Safety in Numbers. A crowded subway train, especially during the day, is generally a safe train. The goal of this guide isn’t to instill fear, but to empower you with the simple “street smarts” that locals use every day. These NYC subway tips for tourists are going to give you insider knowledge—from the rule about the empty car to knowing exactly where to stand on the platform—so you can quickly shed that tourist look, blend in, and ride with the confidence of a true New Yorker.
Subway Safety Tip 1: Digital Safety & Prep
Confusion is the biggest “tell” for a tourist, and looking lost can make you appear vulnerable. The best way to look like a confident local is to prepare before you even descend the stairs. Because cell service is often nonexistent underground, download offline maps for Google Maps or Citymapper while you still have Wi-Fi. Citymapper is particularly excellent for real-time updates on delays or route changes.
Additionally, master the basic direction of the city before you reach the subway turnstiles: “Uptown” generally means moving North (towards the Bronx or Queens), while “Downtown” means heading South (towards Brooklyn or the Financial District in Manhattan). Knowing exactly which side of the platform you need prevents that hesitant, confused hover near the map that signals to everyone you aren’t sure where you’re going.
Streamlining your payment is another crucial safety step. Fumbling through a bag for your credit/debit card to pay not only annoys the commuters behind you but also exposes your wallet to potential theft. Skip the vending machines and use OMNY, the contactless payment system available at every turnstile. Simply tap your phone or contactless credit card on the reader to enter. It’s faster, cleaner, and most importantly, it keeps your wallet safely closed and out of sight.
Tip 2: Platform Smarts: Where to Wait and Why
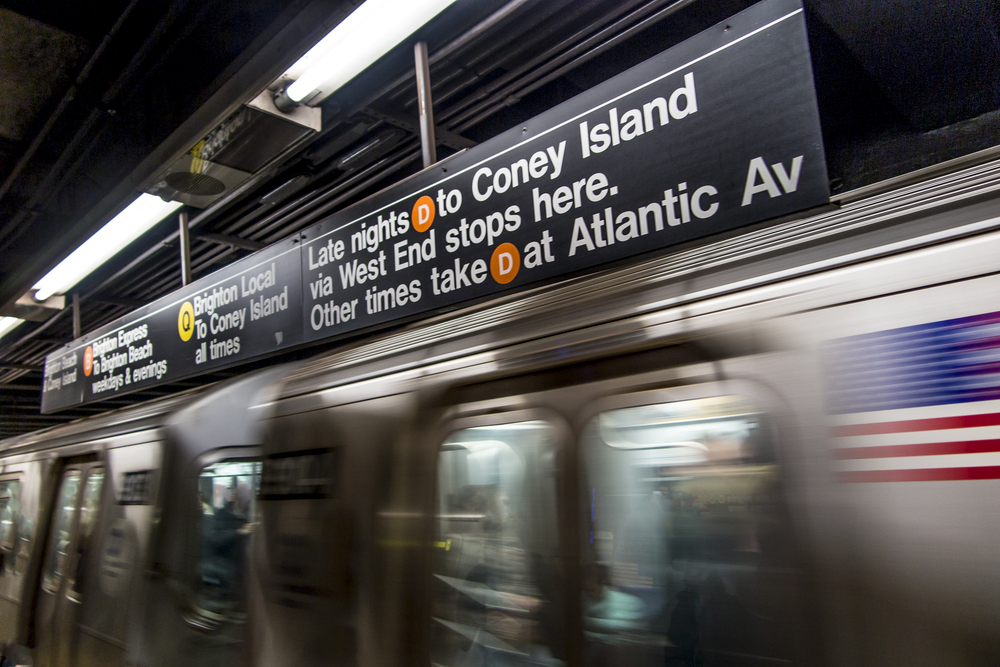
The moment you step onto a subway platform, your first safety decision is where to stand. The Conductor Car Rule is your ultimate insider trick: always wait near the car where the train conductor is located. You can spot this area by looking for a small, striped sign (often black and white) hanging from the ceiling, which marks the conductor’s stopping point. This is known as a Zebra Board and is the most supervised spot on the entire platform, providing the quickest access to an MTA employee should you need assistance.
Furthermore, always maintain a safe distance from the yellow safety strip at the subway platform’s edge, and whenever possible, stand with your back against a wall or pillar. This allows you to observe the entire platform and ensures you aren’t surprised by anyone approaching from behind.
Finally, familiarize yourself with the Help Point stations found on every subway platform. These are bright yellow or red intercom boxes, typically mounted on pillars, that serve as your direct line to the station agent or emergency services. They usually feature two buttons: a green button for non-emergency assistance (like directions or general information) and a red button for immediate emergencies (such as a fire, medical issue, or suspicious activity). Knowing where these are located is your “silent emergency plan,” ensuring you can quickly call for help without needing to fumble for your phone in a stressful moment.
Tip 3: Choosing Your Spot Inside the Car
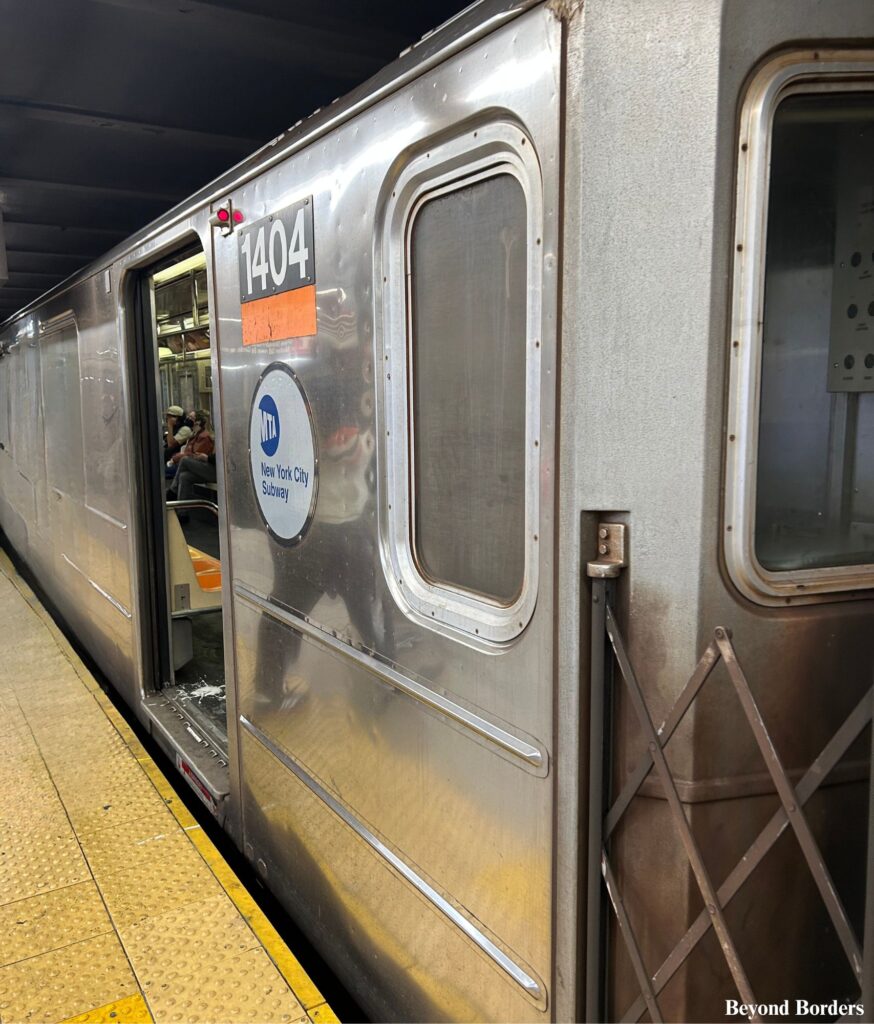
Once you’re riding the subway, your primary goal is to blend in and minimize your vulnerability. This means adopting the unwritten rules that locals follow instinctively. The most crucial safety tactic is the Empty Car Theory: If a train pulls in and one car is completely empty while the others are full, do not get on it. That car is empty for a reason—it could be a sanitation issue, a broken air conditioner on a hot day, or more often, a passenger who is aggressively erratic or unstable. Stick to the cars with other people, ideally near the Conductor Car you located on the platform.
On the train, you will likely encounter a quintessential New York experience when performers—usually dancers or acrobats—board the car and use the poles for gravity-defying routines. While it can be loud and sudden, it is harmless. The immediate advice is simple: create space. Back away slightly to ensure you don’t accidentally get kicked during a swing or flip. The performers will often pass a hat for tips afterward, but remember that you are never under any pressure to contribute. A polite shake of the head is all you need if you choose not to tip.
Most importantly, situational awareness is your greatest defense once inside the train car. First, avoid standing right next to the doors; it’s not just poor etiquette, but it makes you an easy target for theft just as the doors are closing. Move toward the center of the car where you can observe your surroundings. I talk more about theft below.
Perhaps the most essential New Yorker mindset to adopt is the “No Unnecessary Eye Contact” policy. While riding, keep your eyes focused on your phone (held securely!), a book, or simply gaze straight ahead. This is a deliberate safety measure: direct eye contact can be misinterpreted as an invitation for conversation or, worse, a challenge by someone looking to provoke a confrontation.
By appearing preoccupied and unemotional, you communicate that you are a busy New Yorker who is unavailable for interaction. Most importantly, you must trust your instincts. If a car or a situation feels “off” to you, or if someone is acting aggressively or erratically, do not engage. Your only move should be to gather your things and get off at the very next stop to switch cars or find a different platform. Your peace of mind and safety are always worth the minor inconvenience, and the rule here is simple: never make eye contact and never, under any circumstances, film them.
Tip 4: Dealing with Variables
The subway atmosphere shifts dramatically depending on the time of day, and your strategy should shift with it. During Rush Hour (roughly between 8–10am and 5–7pm), riding the subway is incredibly safe due to the sheer volume of people, but they are also tight. This is prime time for pickpockets, so keep your bags in front of you and be hyper-aware of your pockets in the crush of the crowd. Conversely, if you are traveling solo—especially during off-peak hours—avoid the far ends of the platform. These areas can be isolated and far from the exits. Instead, wait near the center of the platform or the station agent booth, where there is better lighting and more foot traffic.
Late Nights (after 11pm) require a different approach. While the subway runs 24/7, the frequency drops and the crowds thin out. If you are riding the subway late, always board the Conductor Car (look for the zebra board) so you aren’t alone in a train car. However, the most important rule of late-night travel is that it is okay to “buy” your safety. If you are tired, intoxicated, or feel uneasy about the station vibe, do not hesitate to leave and hail a taxi or call an Uber. There is no shame in spending the extra money for peace of mind and a door-to-door drop-off.
Tip 5: Actionable “If/Then” Scenarios
Knowing the correct protocol for common stressful situations when riding the subway can prevent panic and keep you safe.
- If you drop your phone, wallet, or keys on the tracks…
- DO NOT attempt to retrieve it yourself. Subway tracks are live and incredibly dangerous.
- Find the nearest MTA employee or use a Help Point intercom to report the exact location. They can retrieve the item safely during scheduled track maintenance.
- If you miss your stop or get completely lost…
- Stay calm! It happens all the time.
- Ride to the next stop, get off, and switch to the platform heading in the opposite direction.
- If you are totally disoriented, exit the station, use your downloaded maps to re-orient yourself above ground, and then re-enter.
- If there is an emergency on the train or platform…
- On the platform, use the Red Button on the nearest Help Point to speak directly to the Transit Authority.
- Only pull the emergency brake on the train in a life-threatening situation (like a fire or major medical crisis); pulling it unnecessarily can result in fines and major delays.
Tip 6: The Anti-Theft Stance and Protecting Your Valuables
The most common crime when riding the subway is simple theft, and you can drastically lower your risk by adopting a protective posture. Rule number one: Your backpack must come off. Wearing a large backpack makes you a nuisance to fellow riders and a prime target, as you can’t feel someone accessing the zipper behind you. Take your pack off and hold it in front of you or place it securely between your legs. Similarly, wear purses and crossbody bags across your body with the flap or zipper facing inward, positioned directly in front of you.
Next, establish a non-verbal barrier: do not appear to be an easy target. Pickpockets who lurk in/around the subway platforms look for a complete break in your attention. Your phone is the single most targeted item, so resist the urge to stare intently at your screen or fumble visibly with a map. Project the sense that you are present, ready, and already anticipating your next move. This appearance of competence and awareness is often enough to make you seem like more trouble than you’re worth.
Finally, be hyper-aware of your highest risk moment: the “snatch-and-grab.” Do not stand near the doors scrolling right as the subway approaches a station. This is the prime opportunity for a thief to snatch your device right out of your hands a split second before the doors close. Additionally, keep an eye out for the “Shield Technique.” Be cautious of those who drape a jacket or large bag over their arm, as pickpockets often use these items to block your view, effectively hiding their working hand while they reach into your bag or pocket. If someone stands uncomfortably close with a shield, shift your position or move immediately.
Conclusions: Ride with Confidence
If this list of tips feels long, remember that for millions of New Yorkers, these are simply subconscious muscle memory, not rules followed out of constant fear. The truth remains: the vast majority of subway rides are uneventful, safe, and efficient. I am a local, and like most New Yorkers, I ride the subway (nearly) every day and have never once had an issue. The measures I discussed—avoiding the empty car, using OMNY, and keeping your backpack down—are all proactive steps that simply demonstrate you are aware of your surroundings, which is the best defense anywhere in a big city.
Of course, safety goes beyond the subway station; to keep your guard up above ground, too, check out my guide on 8 common scams to avoid when visiting New York City, so you can navigate the streets just as confidently as the rails. Use this subway safety guide, not as a list of warnings, but as a toolkit of local insights. These NYC subway tips for tourists ensure you look and act confident while navigating the city, making your trip seamless. Go ahead, swipe your credit/debit card or tap your phone, and dive into the greatest city in the world. Enjoy the ride!